Home Composting

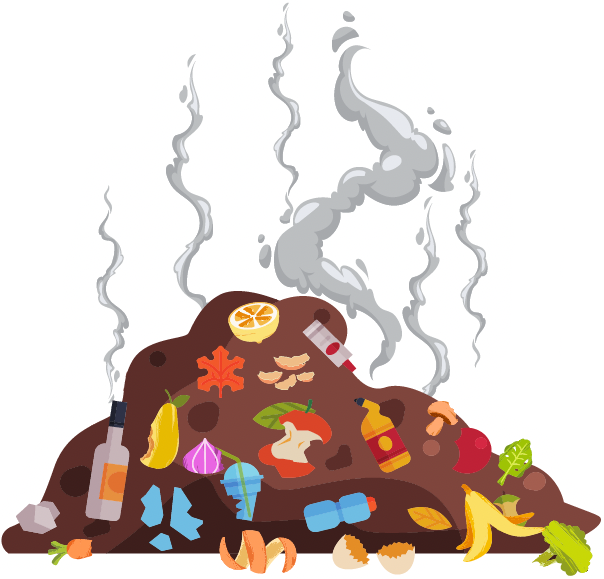
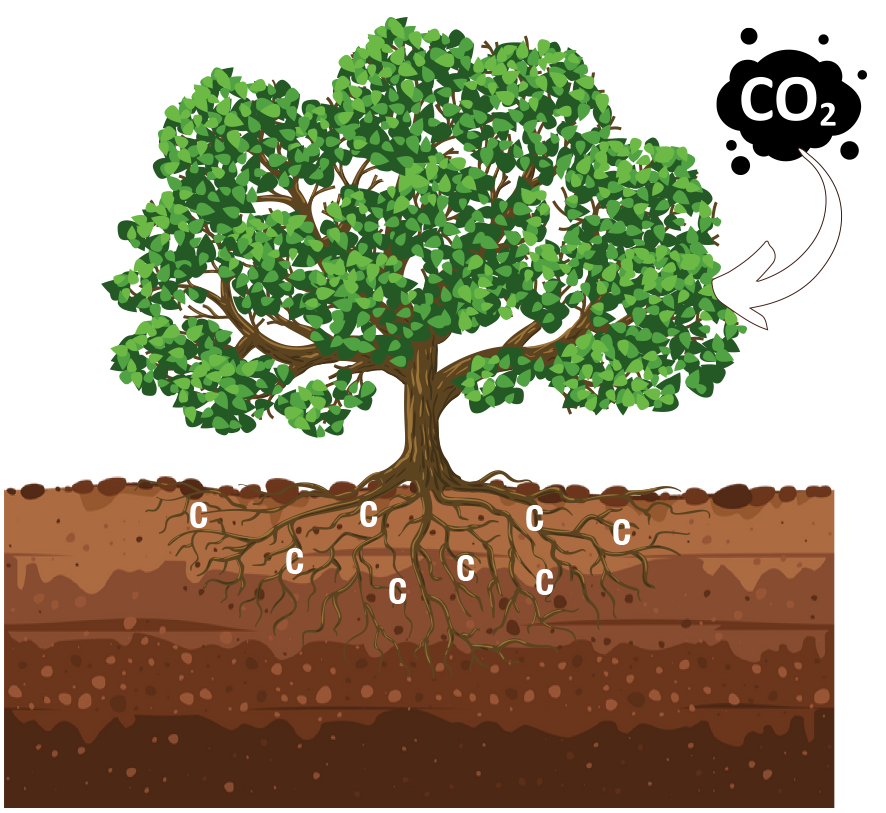
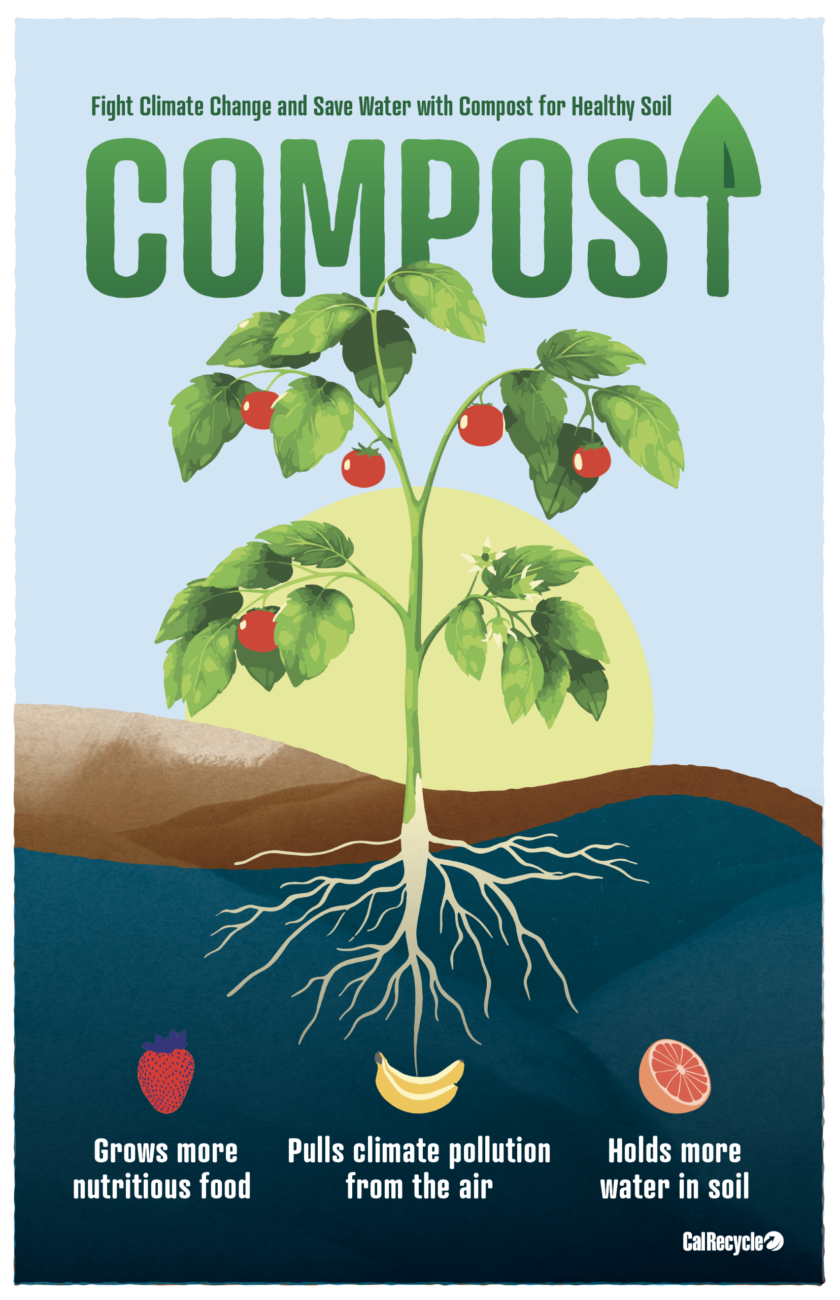
Home composting is an effective and efficient way to dramatically reduce your waste stream at home, while doing your part to reduce your carbon footprint. Organic material sent to landfill creates methane, a powerful greenhouse gas that contributes to the negative impacts of our changing climate. By making compost, you are creating a valuable soil amendment that you can use to benefit your landscape, boost plant growth and sequester carbon.

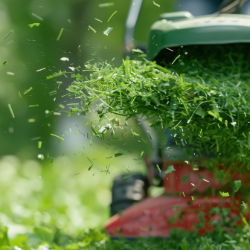
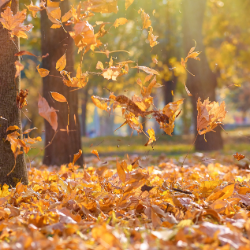
Many types of food waste and yard waste can be composted at home, including grass clippings, tree and shrub trimmings, vegetable garden and fruit tree waste, lawn clippings, autumn leaves, coffee grounds, and fruit and vegetable scraps from the kitchen. Home composters should not attempt to compost meat, dairy or large amounts of baked goods.

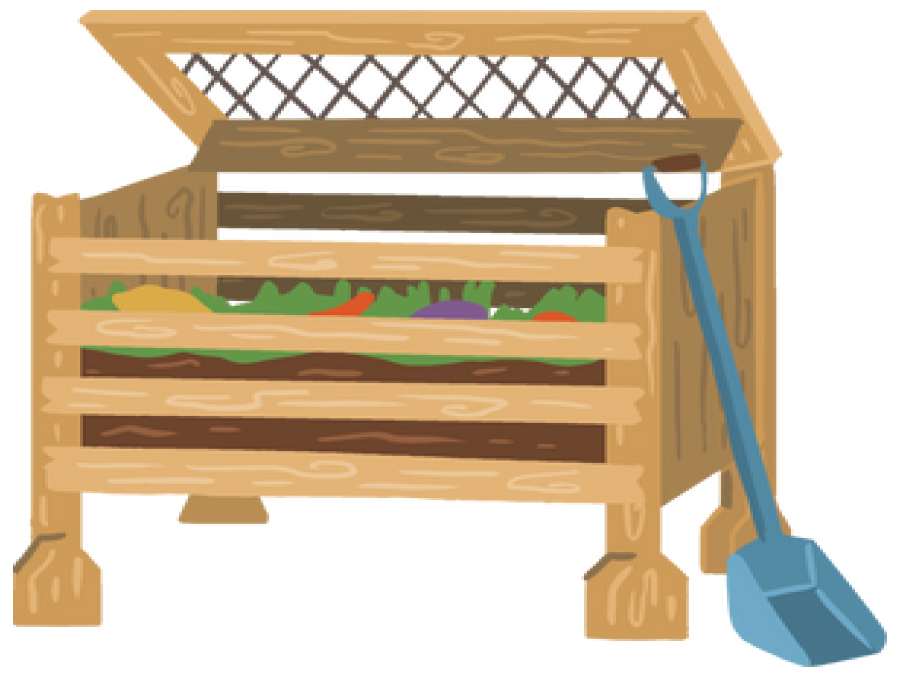
Home composting can be done in an enclosed bin or tumbler, in an easily made bunker, or using a no-fuss pile. The key is to blend your feedstocks to achieve a balance of carbon and nitrogen, keep things damp but not saturated, and ensure adequate oxygen deep in the pile. The microbes will do the rest.

Recipe for Home Composting

Ingredients

The four basic ingredients for composting are nitrogen, carbon, water, and air. The easiest compost recipe calls for blending roughly equal parts of green or wet material (which is high in nitrogen) and brown or dry material (which is high in carbon). Simply layer or mix these materials in a pile or enclosure; chop or shred large pieces to 12″ or shorter. Water and fluff the compost to add air. Then leave it to the microorganisms, which will break down the material over time.


Nitrogen

Green materials such as grass clipping and landscape trimmings are ideal sources of nitrogen for composting. Vegetable and fruit trimmings and peels can also provide nitrogen for composting. Coffee grounds and tea bags may look brown, but are actually potent nitrogen sources. To reduce the potential for pests or odors, avoid meat or dairy scraps and always bury food scraps deep within the compost pile. Avoid pet feces due to concerns about pathogens. However, manure from chickens, turkeys, cows or horses is rich in nitrogen, and can help your compost pile get to proper temperatures, and make very good compost.

Carbon

Brown (dry) yard and garden material such as dry leaves, twigs, hay, or shredded paper can provide the carbon balance for a compost pile. Chop or shred large pieces to 12 inches or shorter (thick, woody branches should be chipped, ground up, or left out). Untreated wood chips and sawdust are a powerful carbon source which may be useful if the pile contains excess nitrogen.

Composting Food Waste

Food is generally a high-nitrogen feedstock which should be blended with plenty of dry leaves, sticks and twigs, wood chips, sawdust, dried/dead plants, shredded newspaper, or paper from a home shredder, and mixed yard waste. Bury food materials deep in your pile, and always cover fresh food with a thick layer of high-carbon brown materials to keep out rodents and other vermin. Adding a dusting of dirt or unscreened, mature compost will help. If the pile gets too wet or dense with food scraps, it will smell bad and composting will slow down or stop altogether. Avoid meat, dairy, fats and oils and large amounts of carbohydrates like breads and pasta; these can cause odors and are very attractive to pests.

Water

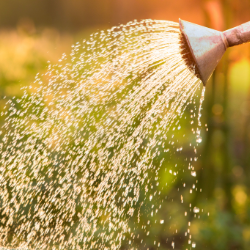
One of the most common mistakes in composting is letting the pile get too dry. Your compost pile should be moist as a wrung-out sponge. A moisture content of 40 to 60 percent is preferable. To test for adequate moisture, reach into your compost pile and grab a handful of material and squeeze it; if a few drops of water come out, it’s probably got enough moisture, if it doesn’t, add water. When you water, it is best to put a hose into the pile so that you aren’t just wetting the top. You can also water as you are turning the pile. During dry weather, you may have to add water regularly. During wet weather, you may need to cover your pile. A properly constructed compost pile will drain excess water and not become soggy.

Air

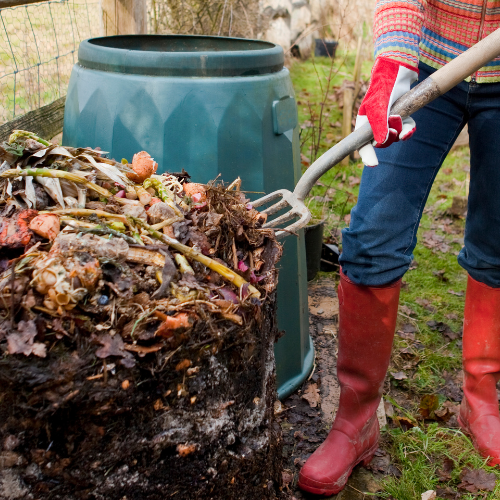
The bacteria and fungus doing the hard work in your compost pile need oxygen to live. If your pile is too dense or becomes too wet, the air supply to the inside is cut off and the beneficial organisms will die. Decomposition will slow and an offensive odor may arise. To avoid this, turn and fluff the pile with a pitchfork often, perhaps weekly. You can also turn the pile by just re-piling it into a new pile. Forcing air deep into the pile using blowers, perforated pipes or other means of aeration is one way to reduce the work of turning a pile.

Size

Ideally, the compost pile should be at least three feet wide by three feet deep by three feet tall (one cubic yard). This size provides enough insulation for the organisms to live. Smaller piles may struggle to achieve sufficiently high temperatures to kill bad organisms and weed seeds. Larger piles can achieve composting temperatures more easily, but need more frequent turning to ensure proper oxygen supply.

Temperature

The Standard in California for commercial facilities is for every pile to attain a temperature of 131 F (55 C) or higher, and maintain that temperature for 15 days. During that time, the pile is turned five times to ensure that all materials are mixed into the center and have a chance to attain the higher temperatures found inside the pile. This is to ensure that pathogens such as E. coli and salmonella are killed off. The outside of the pile will generally not attain these “pathogen reduction” temperatures. On a smaller pile, achieving 131 F for 15 days can be challenging. Compost thermometers of various sizes allow you to probe temperatures up to four feet deep and track the progress of your pile. Turning and watering a stalled pile can help it re-heat and decompose faster and more completely.

Time

A well-managed compost pile will produce finished compost in about three months. A less-intensively managed pile may need six months to a year. You may want to stop adding to your compost pile after it gets to optimal size (about 1 cubic yard) and start a new pile. This will allow your first pile can finish decomposing.

Composting Techniques

Composting can be done with more effort and faster results–or can be done with less labor, which will take longer and may not kill all weed seeds.

  • Hot composting: Compost piles that have the right blend of nitrogen (greens) and carbon (browns), and are kept moist and fluffed regularly, will heat up heat up fast, stay hot, and destroy most weed seeds and pathogens. With faster decomposition, the compost may be ready in 2 to 3 months. Once the pile is fully built, new material is not added, so proper hot composting requires more than one pile.
  • Slow composting: Compost will happen even if you just pile up organic waste, water sporadically, and wait. Since this type of pile won’t get too hot and is turned infrequently, break down will be slower and less even. Weed seeds and recalcitrant materials may survive. Worms and other insects, which cannot survive high heat decomposition may be able to live in these piles and help break down the material. Casual composting can take up to a year.
  • Vermicomposting: Composting with the aid of worms.

Troubleshooting a Home Composting Bin or Pile

Pile SymptomProblem(s)Solution(s)
Smells badNot enough air
OR
too much moisture
Turn the pile if not enough air

Add dry materials if too moist

Will not heat upNot enough moisture
OR
Pile size is too small
OR
Lack of nitrogen-rich material
OR
Particle size is too big
Add water if dry

Build pile to at least 3' x 3' x 3'

Mix in grass clippings or fruit/vegetable scraps

Chip or grind materials

Attracts flies, rodents, or petsPile contains bones, meat, fatty or starchy foods, or animal manureBury produce scraps in pile center or in 8-10 in. of soil.

Enclose compost in a bin.

Compost them in a worm bin.

Has slugs in itSlugs can easily climb on pile.
Remove slugs and eggs from pile (look like small clusters of pearls).

Locate compost pile far from vegetable gardens.

Build barriers around pile/garden.

How to Tell When you have Finished Compost

  • Compost is finished when the original material has been transformed into a uniform, dark brown, crumbly product with a pleasant, earthy aroma. There may be a few chunks of woody material left; these can be screened out and put back into a new pile. You should not be able to recognize any of the original feedstocks. There should be no foul odors.

Home Composting Bins

Composting can be practiced in backyards in a homemade or manufactured composting bin or simply an open pile (some cities require enclosed bins).

While backyard composting can be done successfully in uncontained piles, a composting bin can provide benefits such as improving the look of your composting area, improving your ability to maintain temperatures when hot composting and preventing rodents from accessing your compost pile.

Some communities offer free or discounted bins to residents as an incentive to compost at home. A successful program to promote home composting can reduce a community’s cost of solid waste collection and disposal. In addition to bins, some communities offer technical assistance programs, such as workshops or a hotline service, to assist residents.

Bins vary in terms of cost, size, ease of use, and rodent resistance.

  • Hoops and Square Bins: These are usually the least expensive type of bin. Because hoops can be rolled, they are also easier to ship. Some hoops have tops and lids, which help in making them more rodent resistant. Square wire or plastic bins are like hoops except that they usually have supports in four corners, making them a square rather than round shape.
  • Cones and Boxes: These bins are typically of a solid construction with lids and bottoms. Some have doors at the bottom for harvesting finished compost. Cone/box-type bins tend to be more expensive than hoops.
  • Stackables: These are box-shaped with sections that come apart.
  • Tumblers: These are self-contained barrels, drums, or balls that rotate for mixing the composting materials.

Typical homemade bins can be constructed out of scrap wood, chicken wire, snow fencing or even old garbage cans (with holes punched in the sides and bottom). For additional information on building your own bin, see CalRecycle’s Building Your Own Composting Bin: Designs for Your Community guide.

Manufactured bins include turning units, hoops, cones, and stacking bins. Take the time to consider your options and then select a bin that best fits your needs.

Additional resources for Home Composting

For more information contact: Organic Materials, organics@calrecycle.ca.gov